

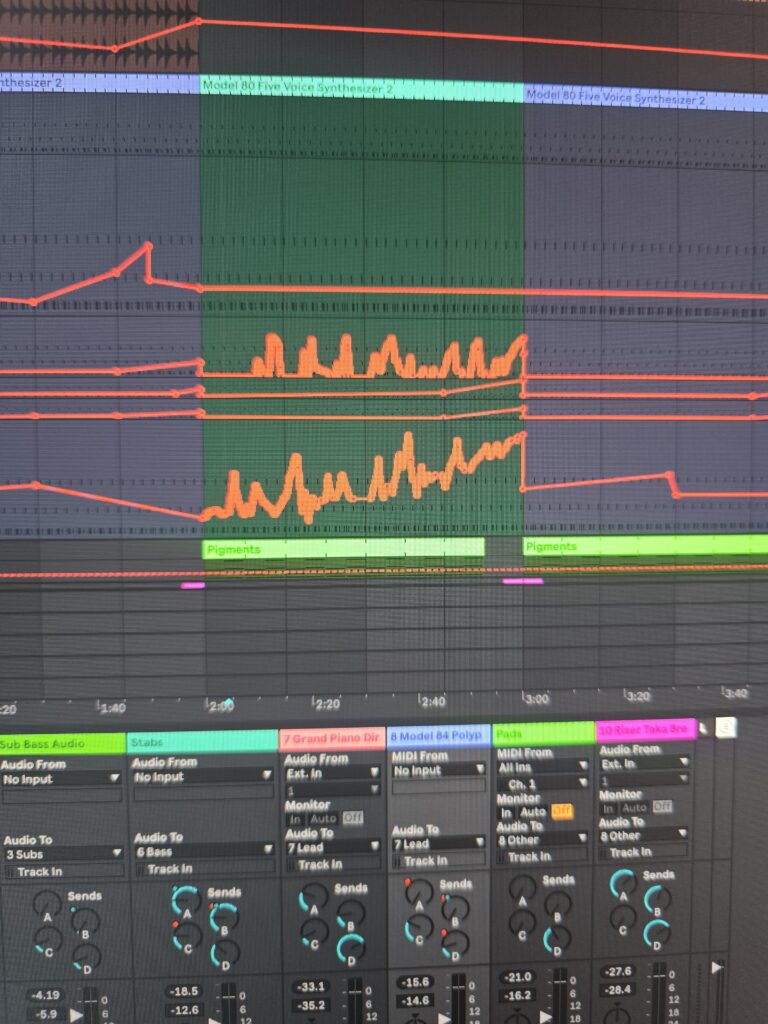
When you have spent your entire life in the Windows ecosystem, the prospect of moving your central production hub to a Mac feels like preparing for a root canal. You brace yourself for lost files, broken routing, and a solid week of troubleshooting drivers just to get sound out of your monitors.
I have been running my new M5 MacBook Pro for a couple of weeks now, and I have to admit something slightly embarrassing: I over-prepared. The transition hasn’t been a grueling technical challenge. It has been shockingly, almost boringly, straightforward.
If you stop fighting the OS and let the architecture do what it was designed to do, Ableton feels right at home. However, there are a few specific traps you can fall into when migrating your older projects. Here is the pragmatic breakdown of how to move your Ableton setup from PC to Mac without losing your mind-and the major realisation I had about why you might not want to.
The Must Do List
If you are determined to bring your legacy sessions across the divide, these are the non-negotiable steps to ensure your old PC projects actually open and play back correctly on the new machine.
1. The Plugin Format Trap (VST vs. AU)
This is the single biggest mistake PC users make when installing plugins on a Mac. Apple has its own proprietary plugin format called Audio Units (AU). When you download a plugin installer on a Mac, it will often default to installing the AU version.
- The Problem: If you built a track on your PC using a FabFilter EQ, Ableton used the VST version (because AU doesn’t exist on Windows). If you open that same Ableton project on your new Mac, but only installed the AU version of FabFilter, Ableton will throw a “Plugin Missing” error. It does not know they are the same EQ.
- The Fix: When installing your plugins on the Mac, always install the VST and VST3 versions. You can install the AU versions too, but keeping the VST formats ensures absolute backward compatibility with every project you ever started on your Windows machine.
2. The Migration Protocol (Collect All and Save)
Before you unplug your PC for the last time, you need to quarantine your projects. Windows and macOS have completely different file path structures (C:\Users\... vs Macintosh HD/Users/...). If your PC Ableton project is pulling a kick drum sample from a random folder on your D: drive, the Mac will never find it.
- The Fix: Open your crucial projects on the PC. Go to File > Collect All and Save. Ensure all the boxes are ticked. This forces Ableton to copy every single sample, recording, and Max for Live device used in that project directly into the project folder. Once that is done, you can drag the folder onto an external drive, move it to the Mac, and it will open perfectly.
3. Install the Apple Silicon Version
Ableton provides different installers. Make sure you are downloading the Universal/Apple Silicon build, not the legacy Intel build. You want Ableton running natively on the M-series architecture to take advantage of the massive efficiency gains, rather than forcing it through the Rosetta 2 translator.
The Should Do List
These steps dictate how organized your studio will be moving forward.
1. Relocate the User Library
By default, Ableton will try to dump your User Library (where all your saved presets, templates, and default tracks live) into the default Music folder on your internal Mac drive. If you are migrating a massive User Library from your PC, you might want it on a dedicated external SSD.
- The Fix: Copy your PC User Library folder onto your Mac or external APFS-formatted drive. Go into Ableton’s Preferences > Library, and point the “Location of User Library” directly to that migrated folder. Ableton will instantly populate your browser with all your familiar tools.
2. Ditch ASIO4ALL Forever
On your PC, you were likely fighting with ASIO4ALL to get your audio interfaces to play nice. The moment you open Ableton on the Mac, go to Preferences > Audio, and look at the Driver Type. It will say CoreAudio.
- The Fix: Do absolutely nothing. CoreAudio handles latency and routing at the system level flawlessly. Select your interface from the dropdown list, set your buffer size to 128 or 256, and marvel at the fact that it just works without needing a third-party control panel.
The Could Do List
This is where the Mac ecosystem actually starts to outshine the old PC workflow, particularly if you rely on hardware.
1. The Aggregate Device Cheat Code
This is the feature I was most looking forward to, and it genuinely changes how you interact with hardware. I use an Expert Sleepers ES-8 for modular routing and a Topping DAC for monitoring. On a PC, running both simultaneously in Ableton is a nightmare of bridging software and clock sync issues.
- The Fix: On the Mac, open the Audio MIDI Setup utility. Click the “+” at the bottom left and select “Create Aggregate Device.” Check the boxes next to your ES-8 and your Topping interface. macOS instantly wraps them both into a single, unified virtual audio interface. Go into Ableton, select your new “Aggregate Device,” and you suddenly have access to the inputs and outputs of both pieces of hardware natively, with perfectly synced clocks. It is black magic.
2. Set Up a Default Template for the New IO
Because your routing has likely changed (especially if you are using an Aggregate Device now), your old PC default template will have dead inputs and outputs.
- The Fix: Spend 30 minutes setting up a pristine, empty Ableton project. Route your ES-8 channels to the right modular tracks, set your master out to the Topping DAC, and map out your standard MIDI channels. Go to File > “Save Current Set as Default.” Now, every time you open Ableton on the Mac, your hardware is instantly patched and ready to go.
The Clean Slate Epiphany
While I was meticulously going through this checklist, mapping out my VSTs, and ensuring my old projects would transfer perfectly, I was hit with a massive, somewhat embarrassing realization.
There is absolutely no reason I actually need to move these over.
I was agonizing over migrating a hard drive full of half-finished tunes, operating under this weird assumption that I had to immediately pick up exactly where I left off on the PC. But why? I don’t have a record label breathing down my neck. I don’t have a contract demanding a strict release schedule.
The pressure I was putting on myself to quickly get the new studio perfectly set up so I could start releasing those old tracks was completely self-induced, and really, entirely pointless.
Sure, there might be one or two tunes that I will eventually pull off the backup drive to polish for a final release. But the reality is that moving to a new operating system, and a new physical machine, is the ultimate excuse to start anew. It is a clean slate. You don’t have to carry the baggage of your unfinished 8-bar loops into your new studio space.
The Verdict
We spend a lot of time in the PC building community convincing ourselves that the endless tinkering under the hood is a necessary part of the process. It is a hard habit to break. But the reality of moving an Ableton setup to a modern MacBook Pro is anticlimactic in the best possible way.
Transfer your files properly if you must, install the right plugin formats, and let CoreAudio do the heavy lifting. The computer finally goes back to being an appliance, and you can get back to writing music—or better yet, writing something entirely new.